Friday, October 21, 2011

10 Days to Halloween

Carving Pumpkins 101
 One of the greatest traditions from one of my favorite holidays. I'm sure everyone has their own way to carve a pumpkin. Here is how Bruce carves his pumpkins.

I should have taken a photo of us at the grocery store picking out a pumpkin, but I forgot and the pickings were slim. You want to be mindful of the characteristics of your pumpkin. One year Bruce insisted on a bumpy and scarred pumpkin. He made a monster out of it. You'll want to make sure you pick a pumpkin that will stand upright. I heard that it is better to pick from a pumpkin patch or a local farm, so you know it's fresh.
I made Bruce wipe it off before carving, to get the dirt off.
Start by cutting a "hat" on the top of the pumpkin. I like to cut it diagonal so the hat doesn't fall in. Also, you want to make sure the hat or hole is big enough for your hands to fit in. As far as knives go, we used a pumpkin carving knife from the store. Any serrated knife will work. Be careful the knife doesn't break off in the pumpkin.
Cut the goo from the hat.
This pumpkin was pretty dry. Bruce used a pumpkin scrape to clean out the goo insides.You can also use a big metal spoon. Be warned, sometimes the spoons are too long to do their job.

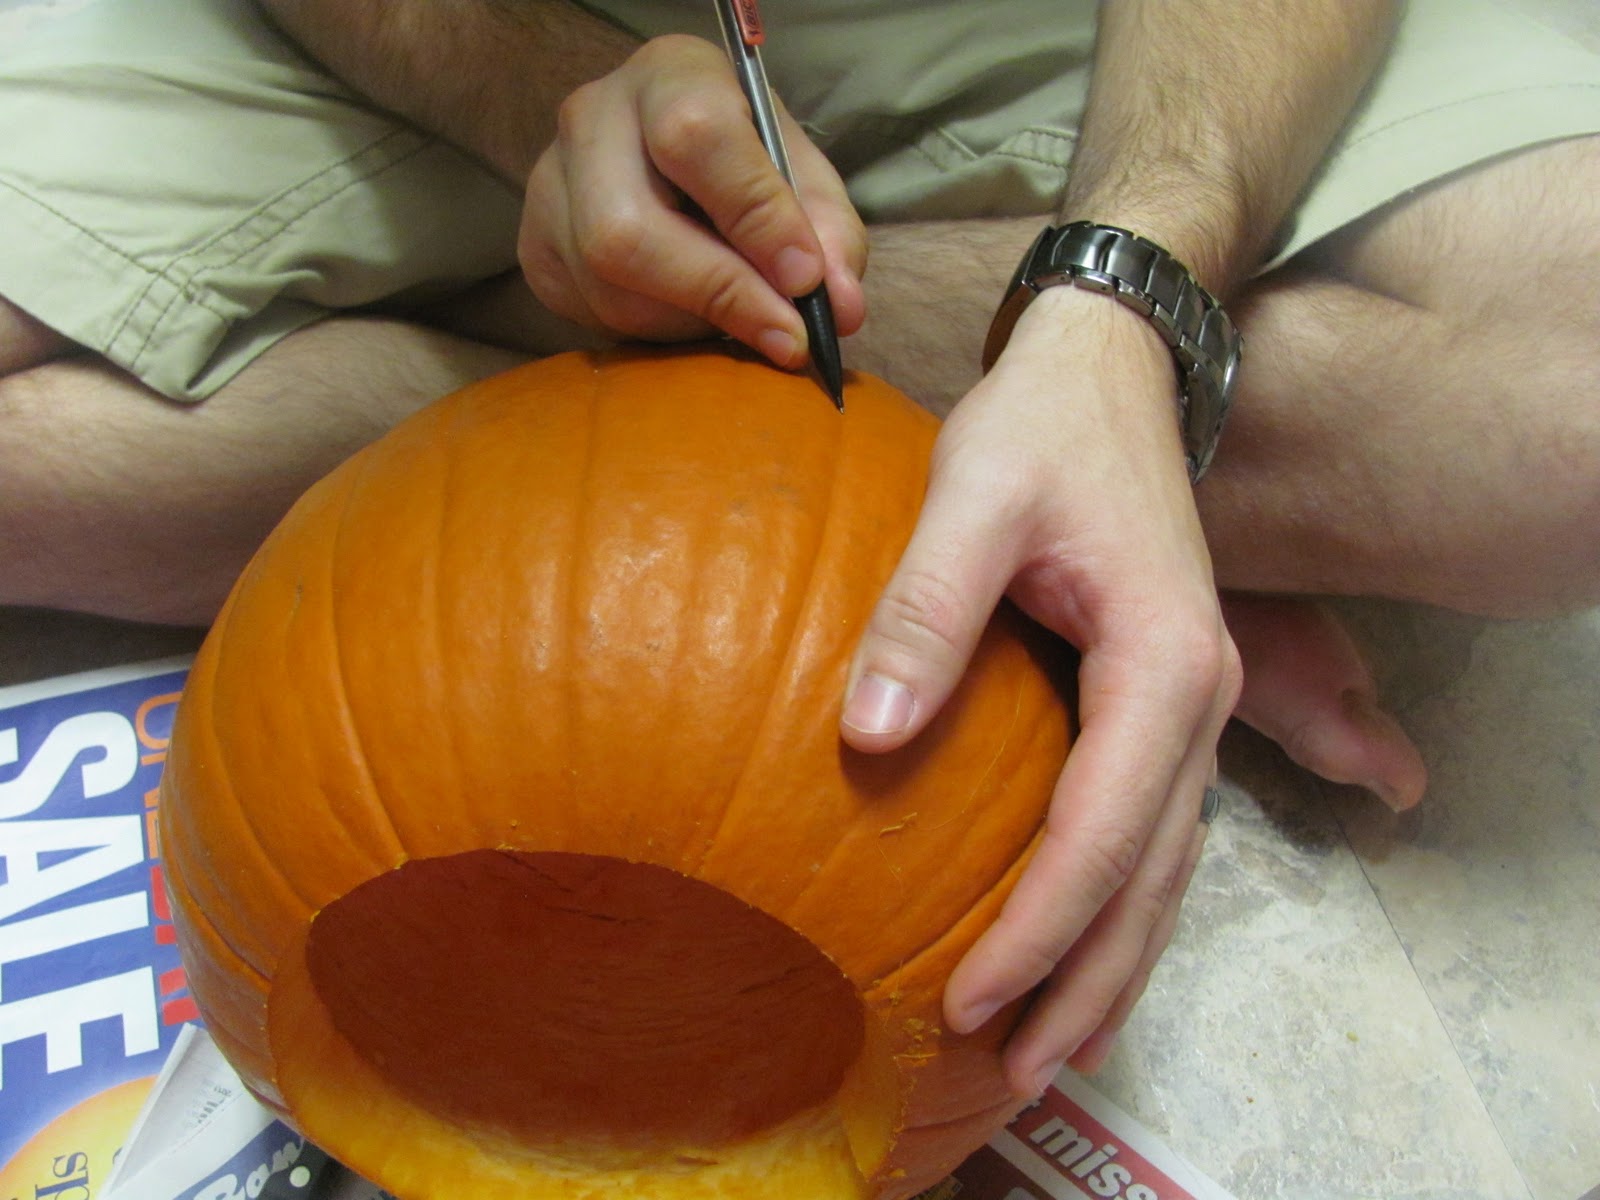
We like to draw the face on the pumpkin before we carve. I think cutting the face out with paper and taping it to the pumpkin works best.

 
Use your knife to cut out the face characters. Make sure the knife cuts all the way through the pumpkin, and watch your hand and fingers so you don't cut yourself.
Add your candle, and set it out to enjoy. I also suggest spraying the inside of the pumpkin with a mixture of 1Tbsp bleach to 1qt water. The bleach is antibacterial/fungal, and will keep your pumpkin looking from rotting. I haven't tried this yet, but I plan to spray the pumpkin tonight!

11 Days to Halloween

Pumpkin Spice Pumpkin Seeds
 

The best pumpkin seeds are the ones you make at home. Start by separating the seeds from the pumpkin guts. When I make salted pumpkin seeds I like have a little goo on the seeds.

 
But if you like goo-less seeds you will want to rinse them under water. Uses a strainer to separate the seeds and goo.

Lay the seeds out on a paper towel to dry.
 
Spread the seeds on a cookie sheet and roast at 250 degrees for 45 minutes.  

 These are the the ingredients you are gonna need: veggie oil, sugar, salt, and pumpkin spice. Here is the link to the recipe: http://allrecipes.com/recipe/toasted-pumpkin-seeds-with-sugar-and-spice/detail.aspx
Dry Spice Mix: 4Tbsp white sugar, 1/4 tsp salt, 1/2 tsp pumpkin pie spice in a bowl, and set aside.

Pour 1Tbsp of veggie oil in to a pan. Turn to medium-hot and add the pumpkin seeds (1cup of seeds). Add 4Tbsp of sugar. Stir consistently until the sugar melts. Be careful not to burn the sugar.
 Scoop the seeds from the pot into the "dry spice mixture" bowl and stir until every seed is coated.
 Pumpkin Spice Pumpkin Seeds are a great finger food for a Halloween party. The sugar will get hard, so make sure you break up the pieces! Enjoy!

Thursday, October 20, 2011

12 Days to Halloween

Spooky Mason Jars
 
This is one of those projects that looks complicated but really only takes you like an hour to finish. Super easy project and probably already have everything you need to make one of these jars in your home this second.


Here is a list of supplies:
-Glass jar (any size works)
-tissue paper 
-glue
-water
-paint and paint brush
-ribbon (optional)


To make the tissue paper stick to the jar you are going to use homemade Mod Podge. Here the recipe. Don't blink, you might miss it! It is equal parts water to glue. That simple!

I measured the tissue paper; then tore it off to give it the uneven top.

 
Next you are going to glue the jar and roll it onto the tissue paper. I modged it about 2 inches at a time. Don't be too concerned with smoothing out the wrinkles. The paper is delicate, especially when it is wet. I noticed that if you use paper with a shiny side, it holds up better.

 
To smooth out the bottom I just folded the edges and modged it. If you want to do a second layer of paper, here is where you add it. Just repeat above steps. However, I don't think it's necessary. I did two layers on my jars and the candle light isn't as bright as I'd like it to be.

 
You're gonna want to let it dry upside down for about 10-20 minutes so the bottom doesn't stick to your work surface.

 
Then, to make the it flame-resistant to the candle, I suggest Mod Podge-ing the top too.

 
Finally, you get to design a face. There are several ways to do this. I chose to paint it on. You can also cut or tear out a face using tissue paper or regular printer paper. To make the paper stick you cover it with Mod Podge.


As soon as they are dry, tie on a ribbon if you want. These would make great walkway lanterns, table decor, or goodie jars to give to neighbors!


13 Days To Halloween

Issac's and Allie's  Halloween Costume


To start our count down I decided on a little costume inspirations. The top costume is a tutu inspired Tinker Bell costume. All you do is tie tulle around an elastic, glue or sew Velcro on the ends of the elastic, and make a tie or band for the middle tie. If you want more detail instructions just email me.

For Peter Pan, I followed this tutorial: Make It -Love It. Pretty easy stuff. If you have any other cute ideas please share them with me! I am also willing to help you make (almost) any costume!

Sunday, October 16, 2011

Recycled Lamp and Re-Covered Lamp Shade

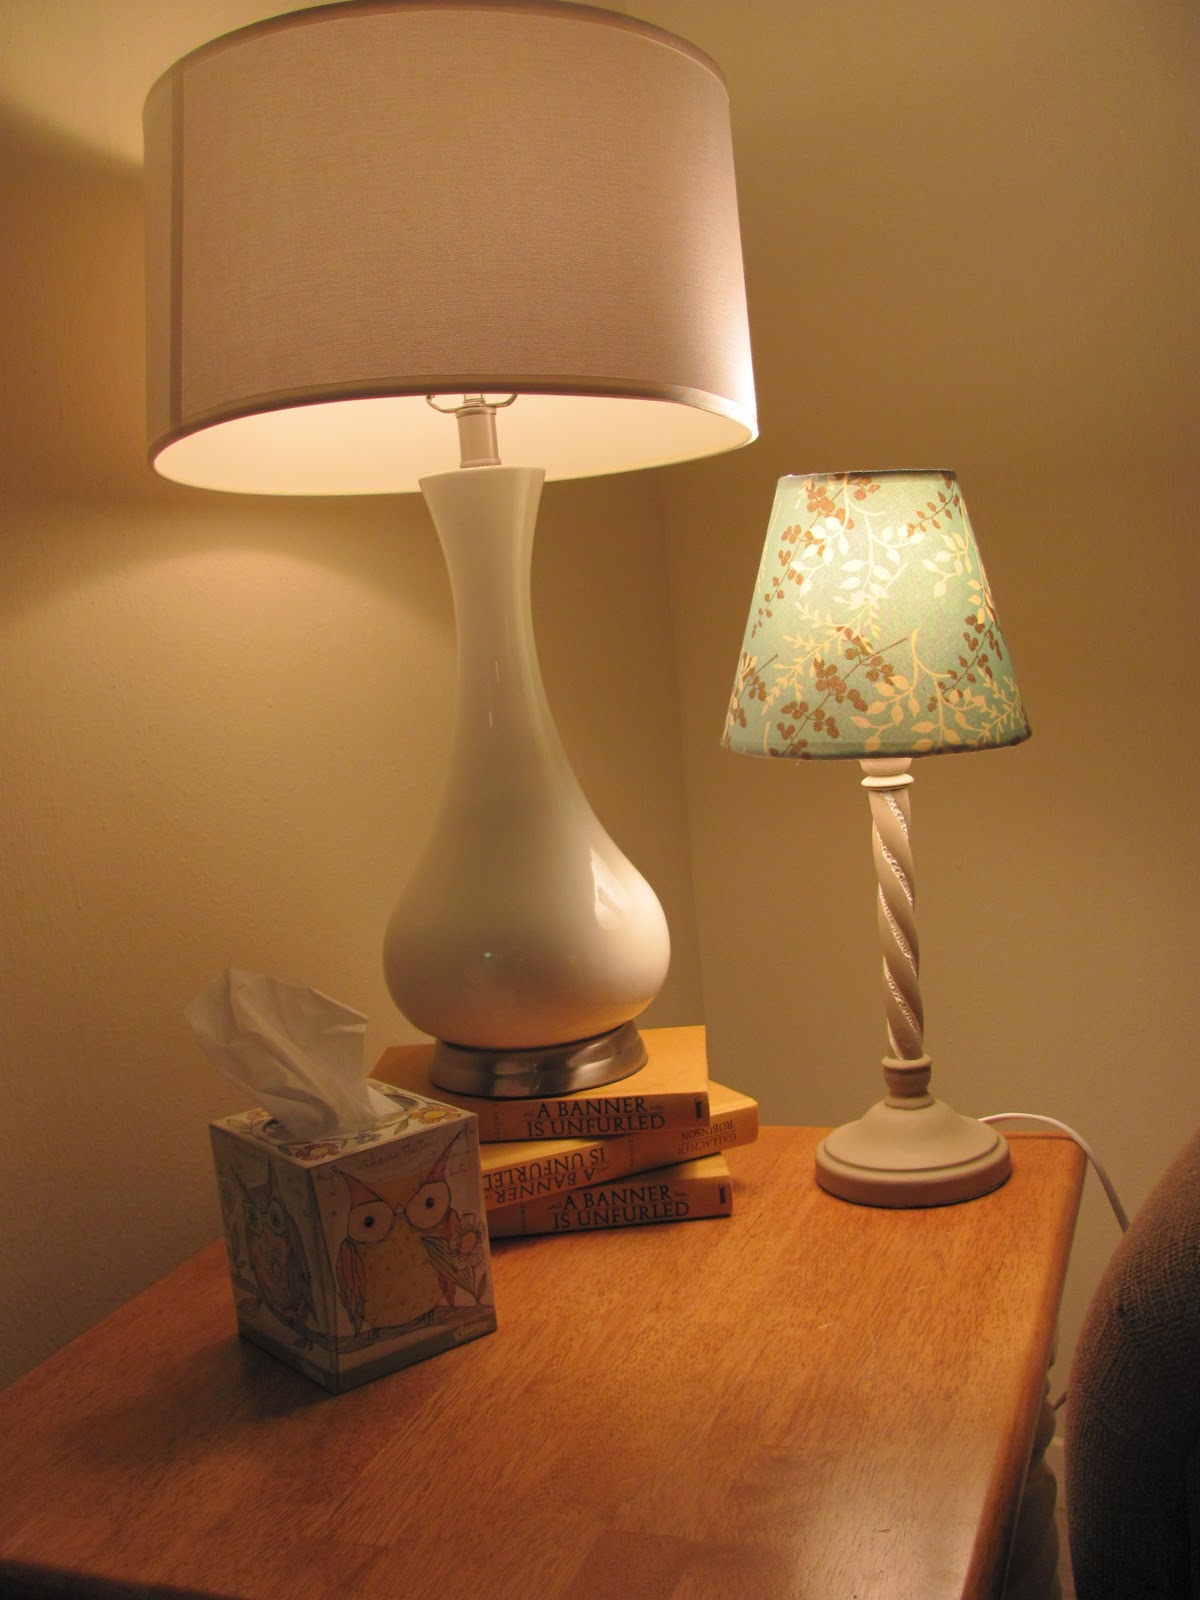
   With fall comes shorter days and more time spent indoors. Our living room was starting to feel like a cave, so I got the bright idea to lighten things up by adding a cute functionable lamp. I know what your thinking: 'two lamps on one end table- can it be done?' I decided to re-decorate an old lamp my mom had given me a few years ago.
 Disclaimer: I realized after posting that this picture does not include all the tools you will need. You will need:
-lamp
-lamp shade ( I bought a new one because I did not have one ($5 at Walmart). However, an old lamp shade can be used.)
-fabric of your choice (for a small lamp shade, 1/2 yard worked fine)
-ribbon for the top and bottom of lamp shade (I didn't use this)
-paint and paint brush if you want to paint your lamp (a rustic metal could be interesting)
-hot glue gun, and glue sticks
-spray adhesive
*READ ALL DIRECTIONS before starting.

 Paint your lamp before covering the shade so that it will be dry by the time you are ready to assemble.
 This is Luna helping me . . .
 Okay, so I wasn't exactly sure how to measure the shade so I made a pattern using tissue paper. Lay the shade on the tissue paper. Find a marking on the shade (like the seam) to start your pattern. Put the pencil next to the marking and start rolling the shade. Move the pencil along with the shade until you trace to your original marking.
 Do the same for the bottom of the shade. Try to start in about the same spot as you did when tracing the top.
 Cut out your pretty pattern. I measured it against the shade to see how it fit. I found that mine was too long. And I realized that I need some extra seam allowance on the top and bottom to fold into the inside of the lamp.
 Once you got the size you want, pin and cut.
 Again, I left extra fabric for seam allowance. Better to have too much fabric than to have too little.
 This part was most nerve racking. Live and Learn: DO NOT DO THIS ON YOUR COFFEE TABLE. Even if you think you put down enough newspaper, the glue will still get everywhere. I would suggest doing this outside.
  You want to spray about 3-4 inches of shade at a time. The glue I got wasn't very sticky at first. The more it dried the stronger the bond was. Try to pull fabric tight to avoid bubbles or wrinkles. I used clothes pins to help hold the fabric so I could pull it tight.
 After gluing the fabric, fold the end under to give it a clean seam. Glue the seam with the glue gun. Try to use as little glue as it takes to get the job done. This will leave a smoother surface.
 Live and Learn: I did not leave enough fabric at the top to fold under to give a good seam. You may want to do that if you are not going to cover it with ribbon. After gluing the top seam, glue the bottom seam.
  If you are adding a trim, now is when you would add it. You can use ribbon. I might also suggest using trim (like for a blanket). If you are using trim, you may not need to leave so much extra fabric for the hem.
Here is my new lamp! My thanks goes out to Nikki for pointing out this adorable fabric for the lamp shade. I hope this makes your experience easier.

Sunday, October 9, 2011

The Last Zucchini Bread Recipe You Will Ever Need


I found this gem of a recipe and had to share it. I got it from allrecipes.com. The link goes directly to the original recipe.

Ingredients

  • 3 cups all-purpose flour
  • 1 teaspoon salt
  • 1 teaspoon baking soda
  • 1 teaspoon baking powder
  • 3 teaspoons ground cinnamon
  • 3 eggs
  • 1 cup vegetable oil
  • 2 1/4 cups white sugar
  • 3 teaspoons vanilla extract
  • 2 cups grated zucchini
  • 1 cup chopped walnuts

Directions

  1. Grease and flour two 8 x 4 inch pans. Preheat oven to 325 degrees F (165 degrees C).
  2. Sift flour, salt, baking powder, soda, and cinnamon together in a bowl.
  3. Beat eggs, oil, vanilla, and sugar together in a large bowl. Add sifted ingredients to the creamed mixture, and beat well. Stir in zucchini and nuts until well combined. Pour batter into prepared pans.
  4. Bake for 40 to 60 minutes, or until tester inserted in the center comes out clean. Cool in pan on rack for 20 minutes. Remove bread from pan, and completely cool.
Optional Crumb Topping:
Mix together: 1/2 c. regular oats, 1/2 c. brown sugar, 1/4 c. flour, 1/4 tsp. cinnamon, 1/4 c. butter.
Let bread bake for 20 minutes. Pull it out and sprinkle on the crumb mixture. Then let it finish baking. This may add a few extra minutes to your total bake time. But it's worth it =)

Sunday, October 2, 2011

Witch's Wreath


Halloween is almost here!!! To get the party started I made a witch-themed wreath. Here is a short tutorial if you feel inspired to create one of you own. (this is the link that gave me the idea: http://indiefixx.com/2010/10/19/yarn-it-up/: )

 These are the materials I started with. However, I later realized I needed a few extra things. So, what I would suggest starting with is:
-base for wreath (I used a foam pipe covering from the hardware store. I might suggest a regular foam wreath base.)
-yarn to cover wreath
-duct tape
-felt, ribbon, thread, glitter, fabric, or anything else you may need to decorate your wreath
-glue gun
-scissors

1. If you decided to use a foam pipe covering, you want to play with it to get a measurement of how big your wreath will be. Cut the tube to your preferred size. Then wrap your wreath base with the yarn. It is easiest to roll the base and hold the thread. This may not work if you use a real wreath base.
 
 2. When you get close to the end of the tube, tape the ends together with duct tape. Finish wrapping your wreath, then hot glue the end of the yarn to the wreath. Try to hide the end under the surrounding yarn.
3. Cut a paper design before cutting the felt. It will make your life a lot easier.

4. Hot glue the felt peices together and trim the edges. Add any other embellishments. I also cut out card board to glue on the back of the hat to help keep its form.

 5. Because I want to use this wreath for various holidays, I used Velcro to attach the witch hat. 

 6. Finally, I used a ribbon to hang the wreath. I just double-knotted each end of the ribbon instead of gluing it on, so I can switch out colors for different holidays. Good Luck!