Friday, December 9, 2011

Nativity Costumes

So here is the basic outline of how I made just about all the Nativity costumes. After these instructions, each costume only needs minor unique adjustments:
The angel costume has sleeves and a fitted bust. For one of the wise men I left off the sleeves. For Mary I made the sleeves fitted, and for Joseph I changed the neck into a V neck. I made the costumes ridiculously big so they would fit EVERYBODY!! 

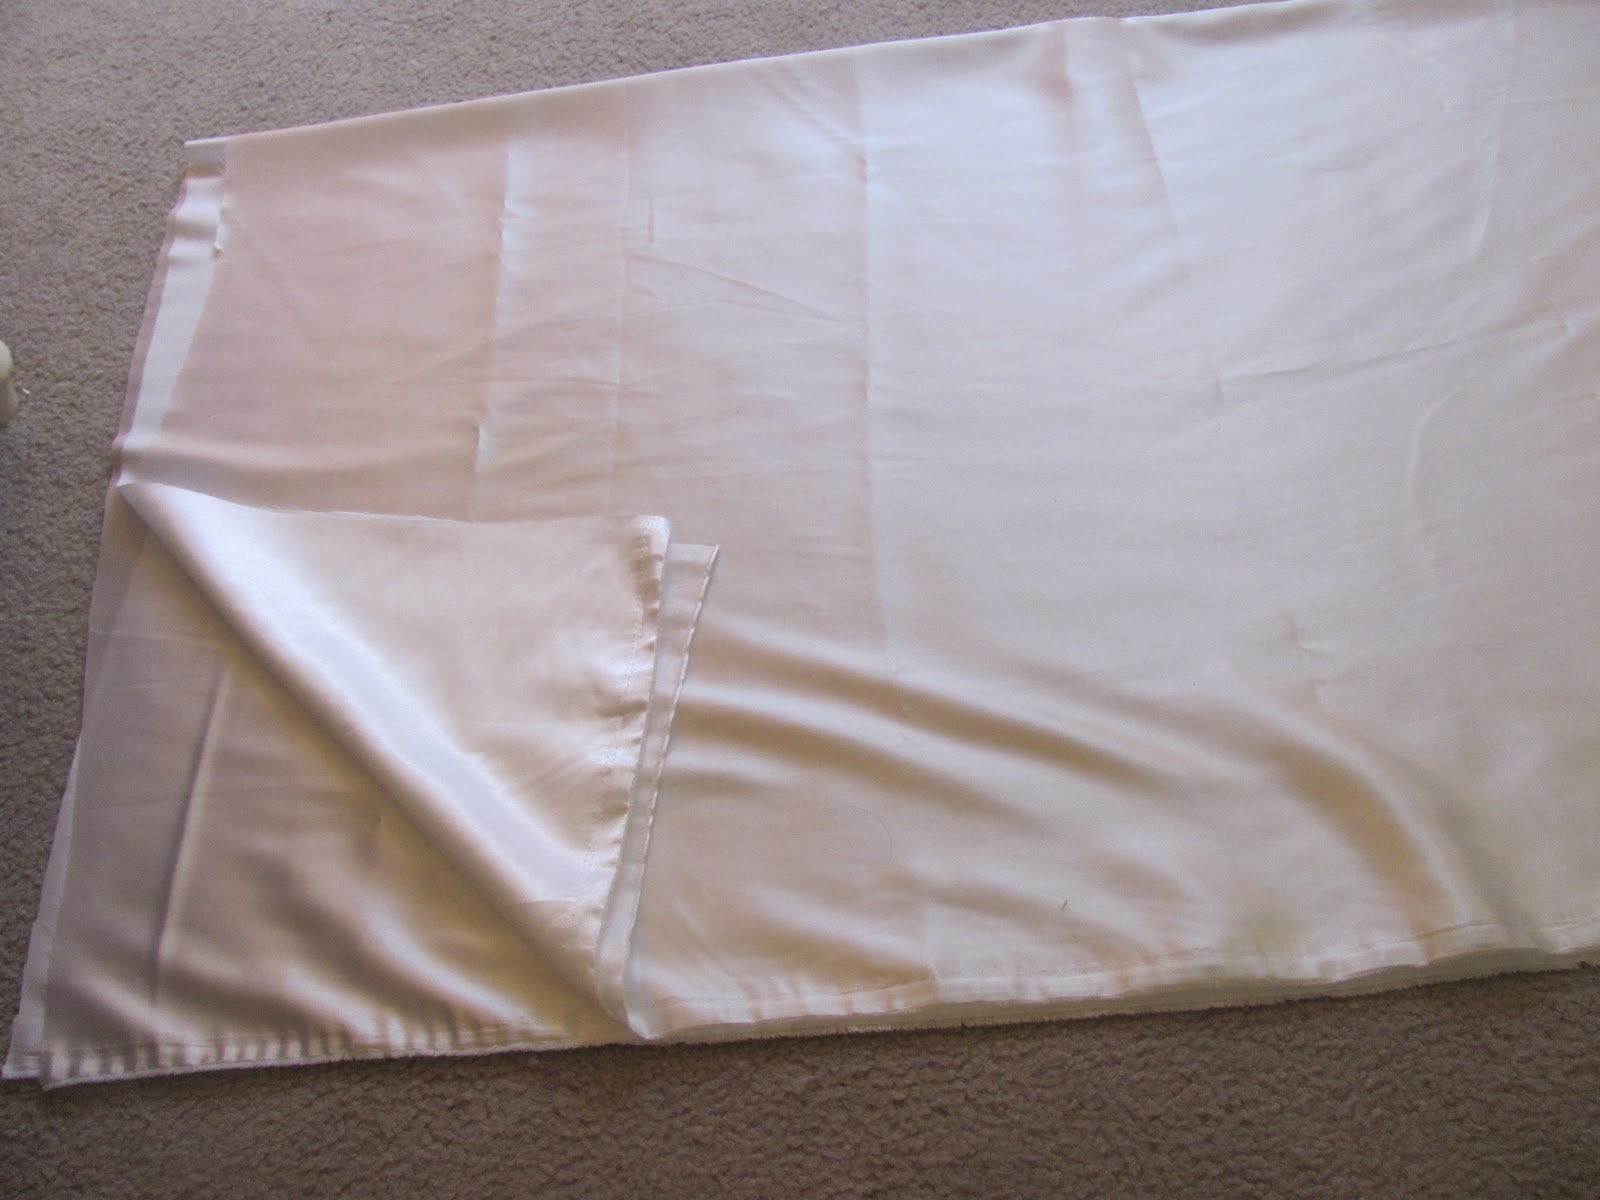
Here is how to make these costumes. First, and this part is always confusing, lay the fabric out flat then fold so the short ends are together. (the fabric I bought was 48" wide) 

Then fold the long ends together. You want somewhere between 2-3 yards of fabric.


Now, you want to find the corner of the fabric with both folds. This is were you will cut the neck hole. I would start by making the cut hole about 5 inches wide. You can always make it bigger, but it's much harder to make it smaller.

This is the fun part. Now you are gonna create the shape of the garment. For the angel, I made sleeves with openings and the silhouette a triangle (make sure you don't make the bust too tight). For Mary I made the sleeves straight and the silhouette more rectangular. For Joseph and one of the wise men, I didn't add sleeves. The possibilities are endless.

Here is the final silhouette, still folded, with the neck hole on the upper right of the picture.

When you unfold the first fold it should look something like this. The top of the sleeves should still be uncut. So, you just need to sew up the sides and the bottom of the sleeves, and hem the neck, sleeve ends, and the bottom of the dress.

Here is the final product. I give you . . . The Angel!

I will try to get some pictures of the other costumes up as soon as possible. If you have any questions about making these costumes, let me know.

Saturday, December 3, 2011

Christmas is in the Air!

It's the merriest time of year! Now that Thanksgiving has passed we can hang the lights, turn up the Christmas music, and wrap the presents. I am a firm believer that Christmas with all of its trimming should come only after Thanksgiving. Isn't that the order they are in? Anyways, I had a request from a friend to post a tutorial on easy, homemade Nativity costumes. Our ward is putting on a play called "The Best Christmas Pageant Ever." It's based on a book and has been made into a movie. It's a really cute play and the kids in our ward are doing a great job. I jumped at the chance to make the costumes for the Nativity scene. It was much easier than I anticipated. I am gonna do a few posts on this. So I will start with a list of supplies and how to make halos.

The costumes are going to use a lot of material. I bought a couple of flat bedsheets at Walmart for $5 to make the shepherds and Joseph. For Mary, the angel, and the wise-men I got satin-poly material from Hobby Lobby. I used the 40% coupon that can be found online. I'm sure I'm leaving out a lot but I will add as we go.

Okay, for the Angel and the little choir of angels' halos I used 18mm wire (Hobby Lobby), gold garland (Dollar Tree), and a headband (Dollar Tree).

First, cut the garland into the halo circumference you want; then measure the wire to the same length. Twist garland around wire. Shape into a circle.

Second, (this part is optional) paint headbands white. Spray paint works best. I got the cheap kind from Walmart for $1.

Third, cut two wires 3" long each to hold up the halo.

Fourth, wrap one end of the 3"-wire to the halo. Try to secure it tightly with hot glue to keep in place.

Fifth, wrap the other end of the 3"-wire around the headband and use pliers to tighten the wire around the headband. 

All Done!


Thursday, November 24, 2011

Happy Turkey Day!

I hope you all enjoy your yummy Thanksgiving dinners surrounded by loved ones. I thought I'd give you a few ideas for what to do with your dinner leftovers. Click the links for the full recipe.

http://www.chow.com/recipes/29029-thanksgiving-turkey-cake


http://simplyrecipes.com/recipes/turkey_white_chili/


http://www.browneyedbaker.com/


Hope You Enjoy!

Wednesday, November 23, 2011

Pies and Yummy Deserts

 So our lap top broke last week and we just got it back so I apologies for not post more Thanksgiving recipes. But this post should be pretty good! I made a list of pie recipes I love. Here they are:


Hope You Enjoy!

Thursday, November 17, 2011

Potateos

Basic Smashed Potatoes

Cheesy Potatoes
http://www.cooks.com/rec

The Graham clan requires two types of potatoes every year. The top dish is a traditional smashed potatoes. It can be added to and changed up. The second dish is a cheesy potato, my sisters favorite. Both are really great!

Hope You Enjoy!

Sunday, November 13, 2011

Pre-Dinner Munchies

Pre-Dinner snacks are as big of a tradition in my family as turkey and gravy. My wonderful aunts usually make 4-5 different dips or platters for the family to munch on while dinner is being prepared. My grandpa and the other men in the house especially love having these snacks for the football game. Here are just a few of my favorites:

 
Cheesy Bread Dip. I tried this recipe about 3 months ago at a friend's house and it was a big hit. http://triedandtasty.com/2011/01/cheesy-baked-dip/  And it is even better when you get to eat the bread bowl.

 We have had Onion Dip with chips for as long as I can remember. It's such an easy recipe: just pick up a pack of dry onion dip mix (I think it's in the salad dressing aisle), a container of sour cream (follow recipe on the onion dip mix package), and chips.

 Here is another great side that my Aunt Jennifer makes. I was surprised by how much my husband really liked them. All it is is a slice of cream cheese next to a jalapeno rolled up in a salami. Use a tooth pick to hold together. (I usually take out the jalapeno and eat the rest.)

 My family really likes chips and dip so here is another recipe. Take a block of cream cheese and pour salsa over it. Eat with chips or veggies. The last few years, someone has been bringing peach salsa and putting it over the cream cheese. I think I like that better. I'm not sure where they get it from, but if you ever see peach salsa you should try it.

And for good measure, one of my Aunts usually puts out a veggie tray. It usually consists of olives, carrots, celery, pickles, and carrots with ranch in the middle.

This is a new recipe for me but I love it! It's fruit salad with cinnamon chips. This recipe uses very few ingredients, but I've had fruit salsa with all kinds of fruit including mango, strawberries, raspberries, bananas, etc. Also, if you don't want to make chips you can get cinnamon flavored Pita chips from the store. This is a great way to incorporate fruit into your Thanksgiving feast. 

Hope You Enjoy!

Friday, November 11, 2011

Green Beans

Ok, so I know I've been slacking in the recipe updates but I'm gonna make up for it. Today I'm bringing you two recipe for green beans. The first is one of my favorite dishes of Thanksgiving and Christmas.

 Green Bean Casserole
 
My favorite part of this dish is the fried onions on the top, yum. Follow this link to get the official recipe: http://www.frenchs.com/recipe/.


Garlic-Roasted Green Beans Recipe with Shallots and Almonds

  
I haven't tried this recipe yet but it is on my menu this year. If anybody gets to this recipe before I do, please let me know how they turn out. 

Hope You Enjoy!

Sunday, November 6, 2011

Texas Road House Rolls

One food item that no Thanksgiving feast should be without is a basket of warm rolls. I have found the best roll recipe ever! Seriously, people, look no further. This is the only roll recipe you will ever need! I made it with some friends a few weeks ago and they turned out fluffy but thick, and melt in your mouth. The recipe is pretty simple. I'm gonna give you the link to the blog I found the recipe on (eatcakefordinner). Her directions were okay . . . but if I can do it, so can you! Bonus: We followed her notes at the bottom of the recipe that helped the rolls split apart easily.

Wednesday, November 2, 2011

Welcome to November

It's November, or what I like to call "Unlimited Calorie" month. And to celebrate I'm gonna be featuring recipes for Thanksgiving and what to do with the leftovers. I would love to hear from you about your favorite holiday recipe or a recipe you want to try. This will be a season of traditional favorites and new holiday treats.

Monday, October 31, 2011

Sunday, October 30, 2011

1 Day to Halloween

Trick-or-Treat Etiquette

The Unwritten Rules of Halloween

 1. Trick-or-Treating starts just after dark (~7pm). Some people argue that little kids should trick-or-treat before dark and older kids go after dark. But it is generally assumed that 9 pm is the cut off time for trick-or-treating. However, your city my have a specific time for trick-or-treating.
2. Only ring the door bells of the houses with the porch lights on. And only ring the door bell once.
3. Everyone receiving candy must be in costume. You gotta earn that candy.
4. Age limit for trick-or-treaters should be 12-13 years old. But if you have younger children with you, the older kids can come if they are in costume.
5. To get candy you must say "Trick-or-Treat" and remember to say thank you after receiving candy. You should only take one piece unless otherwise instructed.


Safety Rules to Follow
1.Young children should always go trick-or-treating with an adult. Never trick-or-treat alone!! Have at least 2 friends go with you.
2.Plan you entire route and make sure your family knows what it is.
3. Wear only flame retardant costumes and accessories.
4. Accept candy only in the doorway. Never go inside a house. Don't take unwrapped candy.
5. Don't play near lit jack-o-lanterns or other open flames.
6. WALK! don't RUN. Stay on sidewalks and driveways. Cross the street only in crosswalks.
7. Take a cell phone with you if possible.
8. Carry a flashlight.

 
Have a fun and safe Halloween!

Saturday, October 29, 2011

2 Days to Halloween

Haunted Houses in Houston
 Since Bruce and I will be stuck at home studying on Halloween night, we decided to admire the Halloween decor today. Here are some of our favorite houses. Not only are these houses beautiful, but they have spared no inflatable prop while decorating. REALLY what happened to the good old spider webs and tomb stones? When I was a kid, people stuck chicken bones and fake blood on their front yard to scare off trick-or-treaters. Seriously, we need some good scary houses. Please send me a picture if you find one!

 This was Bruce's favorite. It's a spider crawling down the balcony.
This was the creepiest front yard. It was random scarecrow-like figures in purple dresses with masks. You have to give them an A for creativity.
 Straight out of a serial-killer movie is this colonial style home. I bet this house is frightening at night. If you look closely you can see that trick-or-treaters have to walk past the giant spider with a severed human foot dangling out of its mouth. And on the other side of the walkway is a graveyard who's occupants have dug their way out of their coffins. You may not make it back in one piece . . .
Pretty cool doorway decoration. 

 
Another haunted house that utilized the fake cob webs. They even have one of those creepy zombie babies on the porch bench.
Another cool entryway.

What 90's thriller does this scene take you back to? Arachnophobia! The movie that still haunts me these days. 

Now that you have got the hebe-geebees, see if you can find any houses in your neighborhood to top these ones.

Friday, October 28, 2011

3 Days to Halloween

Trick-or-Treat Bags

Who says you have to use a boring old pillow case for a tick-or-treat bag. How about having your kids make their own bags this year. It can be as easy as stickers to a bag or more involved with glitter and buttons. I decided to use felt.
 Here are a few things you may want to have on hand:
-felt
-scissors
-buttons
-fabric
-fabric scraps
-hot glue gun
 
First cut the top 1 inch to 1 1/2 off the top of the felt sheets. These will be used for the handles. Hot glue them on.

 Next, cut out the eyes, mouth, nose, and other features or shapes.
 
 Assemble your shapes on the bag. And hot glue them on.

 Finally, glue the front of the bag to the back of the bag. Now, you and your kids are ready to hit the streets with your new candy bags.


Here are some more ideas for trick-or-treat bags.