Carving Pumpkins 101
One of the greatest traditions from one of my favorite holidays. I'm sure everyone has their own way to carve a pumpkin. Here is how Bruce carves his pumpkins.
I should have taken a photo of us at the grocery store picking out a pumpkin, but I forgot and the pickings were slim. You want to be mindful of the characteristics of your pumpkin. One year Bruce insisted on a bumpy and scarred pumpkin. He made a monster out of it. You'll want to make sure you pick a pumpkin that will stand upright. I heard that it is better to pick from a pumpkin patch or a local farm, so you know it's fresh.
I made Bruce wipe it off before carving, to get the dirt off.
Start by cutting a "hat" on the top of the pumpkin. I like to cut it diagonal so the hat doesn't fall in. Also, you want to make sure the hat or hole is big enough for your hands to fit in. As far as knives go, we used a pumpkin carving knife from the store. Any serrated knife will work. Be careful the knife doesn't break off in the pumpkin.
Cut the goo from the hat.
This pumpkin was pretty dry. Bruce used a pumpkin scrape to clean out the goo insides.You can also use a big metal spoon. Be warned, sometimes the spoons are too long to do their job.
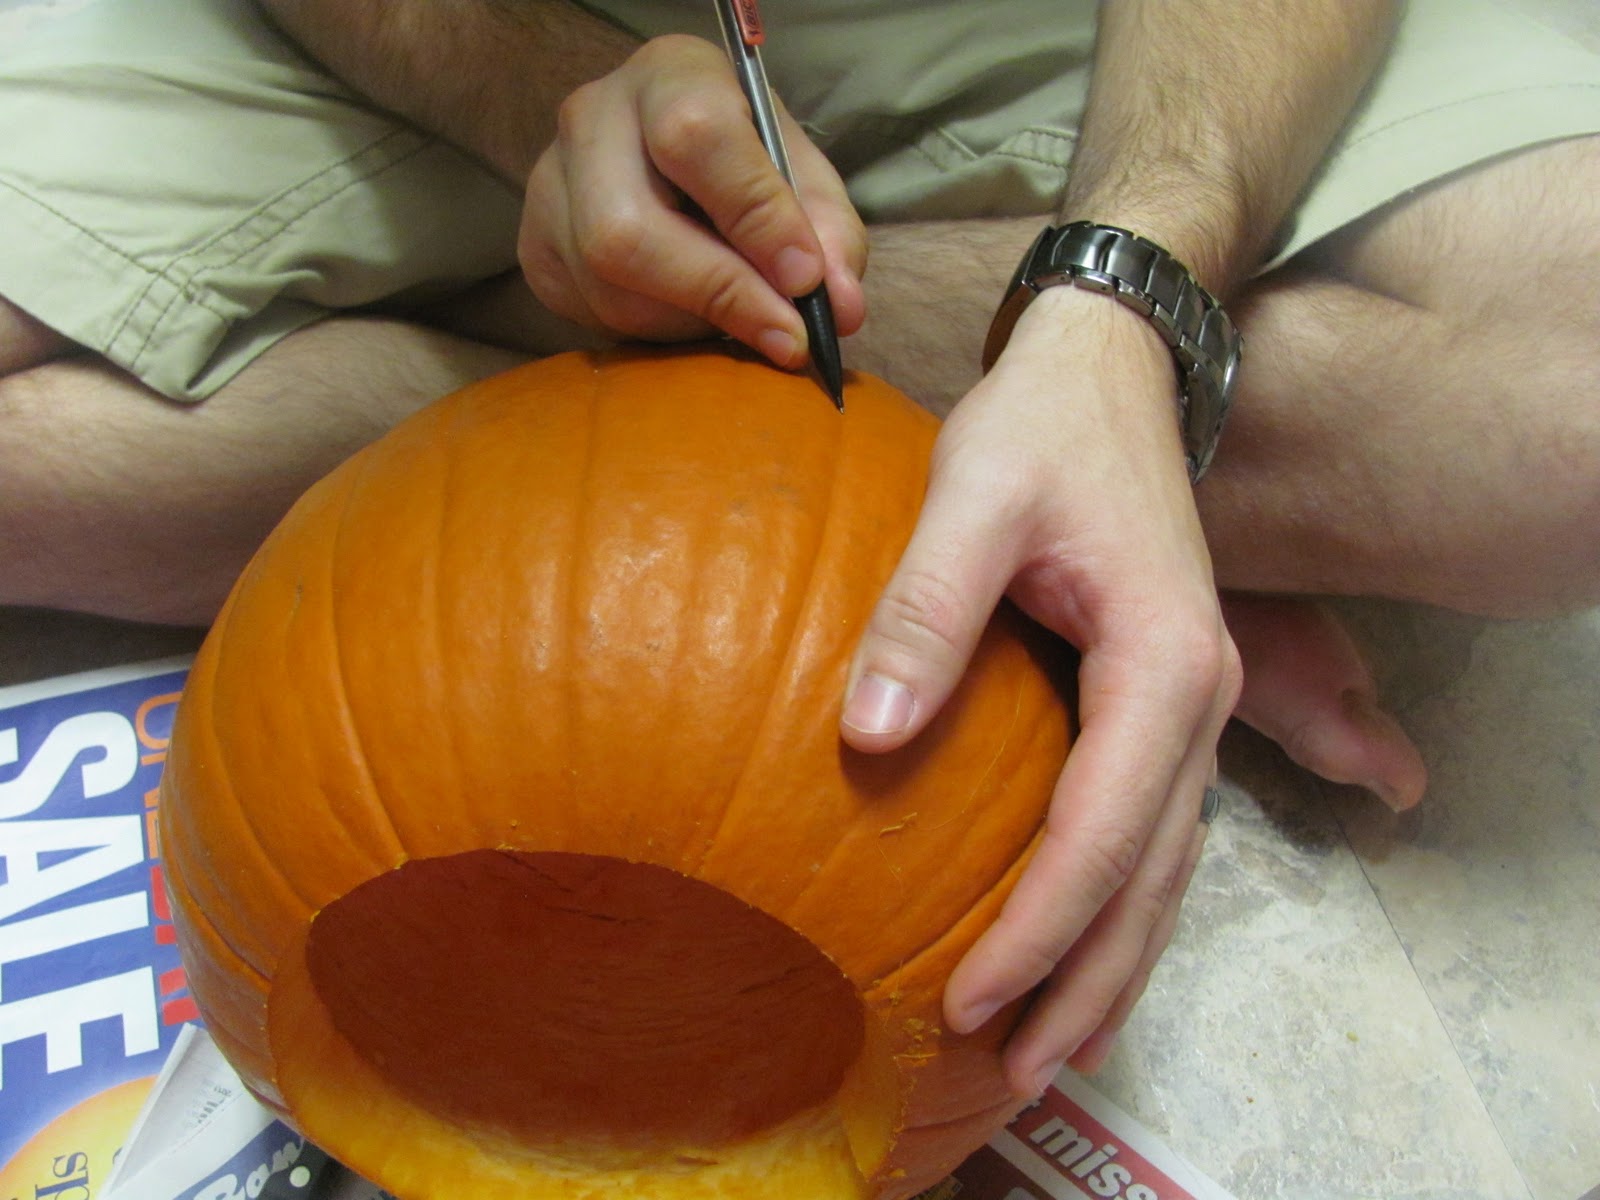
We like to draw the face on the pumpkin before we carve. I think cutting the face out with paper and taping it to the pumpkin works best.
Use your knife to cut out the face characters. Make sure the knife cuts all the way through the pumpkin, and watch your hand and fingers so you don't cut yourself.
Add your candle, and set it out to enjoy. I also suggest spraying the inside of the pumpkin with a mixture of 1Tbsp bleach to 1qt water. The bleach is antibacterial/fungal, and will keep your pumpkin looking from rotting. I haven't tried this yet, but I plan to spray the pumpkin tonight!


No comments:
Post a Comment