With fall comes shorter days and more time spent indoors. Our living room was starting to feel like a cave, so I got the bright idea to lighten things up by adding a cute functionable lamp. I know what your thinking: 'two lamps on one end table- can it be done?' I decided to re-decorate an old lamp my mom had given me a few years ago.
Disclaimer: I realized after posting that this picture does not include all the tools you will need. You will need:
-lamp
-lamp shade ( I bought a new one because I did not have one ($5 at Walmart). However, an old lamp shade can be used.)
-fabric of your choice (for a small lamp shade, 1/2 yard worked fine)
-ribbon for the top and bottom of lamp shade (I didn't use this)
-paint and paint brush if you want to paint your lamp (a rustic metal could be interesting)
-hot glue gun, and glue sticks
-spray adhesive
*READ ALL DIRECTIONS before starting.
Paint your lamp before covering the shade so that it will be dry by the time you are ready to assemble.
This is Luna helping me . . .
Okay, so I wasn't exactly sure how to measure the shade so I made a pattern using tissue paper. Lay the shade on the tissue paper. Find a marking on the shade (like the seam) to start your pattern. Put the pencil next to the marking and start rolling the shade. Move the pencil along with the shade until you trace to your original marking.
Do the same for the bottom of the shade. Try to start in about the same spot as you did when tracing the top.
Cut out your pretty pattern. I measured it against the shade to see how it fit. I found that mine was too long. And I realized that I need some extra seam allowance on the top and bottom to fold into the inside of the lamp.
Once you got the size you want, pin and cut.
Again, I left extra fabric for seam allowance. Better to have too much fabric than to have too little.
This part was most nerve racking. Live and Learn: DO NOT DO THIS ON YOUR COFFEE TABLE. Even if you think you put down enough newspaper, the glue will still get everywhere. I would suggest doing this outside.
You want to spray about 3-4 inches of shade at a time. The glue I got wasn't very sticky at first. The more it dried the stronger the bond was. Try to pull fabric tight to avoid bubbles or wrinkles. I used clothes pins to help hold the fabric so I could pull it tight.
After gluing the fabric, fold the end under to give it a clean seam. Glue the seam with the glue gun. Try to use as little glue as it takes to get the job done. This will leave a smoother surface.
Live and Learn: I did not leave enough fabric at the top to fold under to give a good seam. You may want to do that if you are not going to cover it with ribbon. After gluing the top seam, glue the bottom seam.
If you are adding a trim, now is when you would add it. You can use ribbon. I might also suggest using trim (like for a blanket). If you are using trim, you may not need to leave so much extra fabric for the hem.
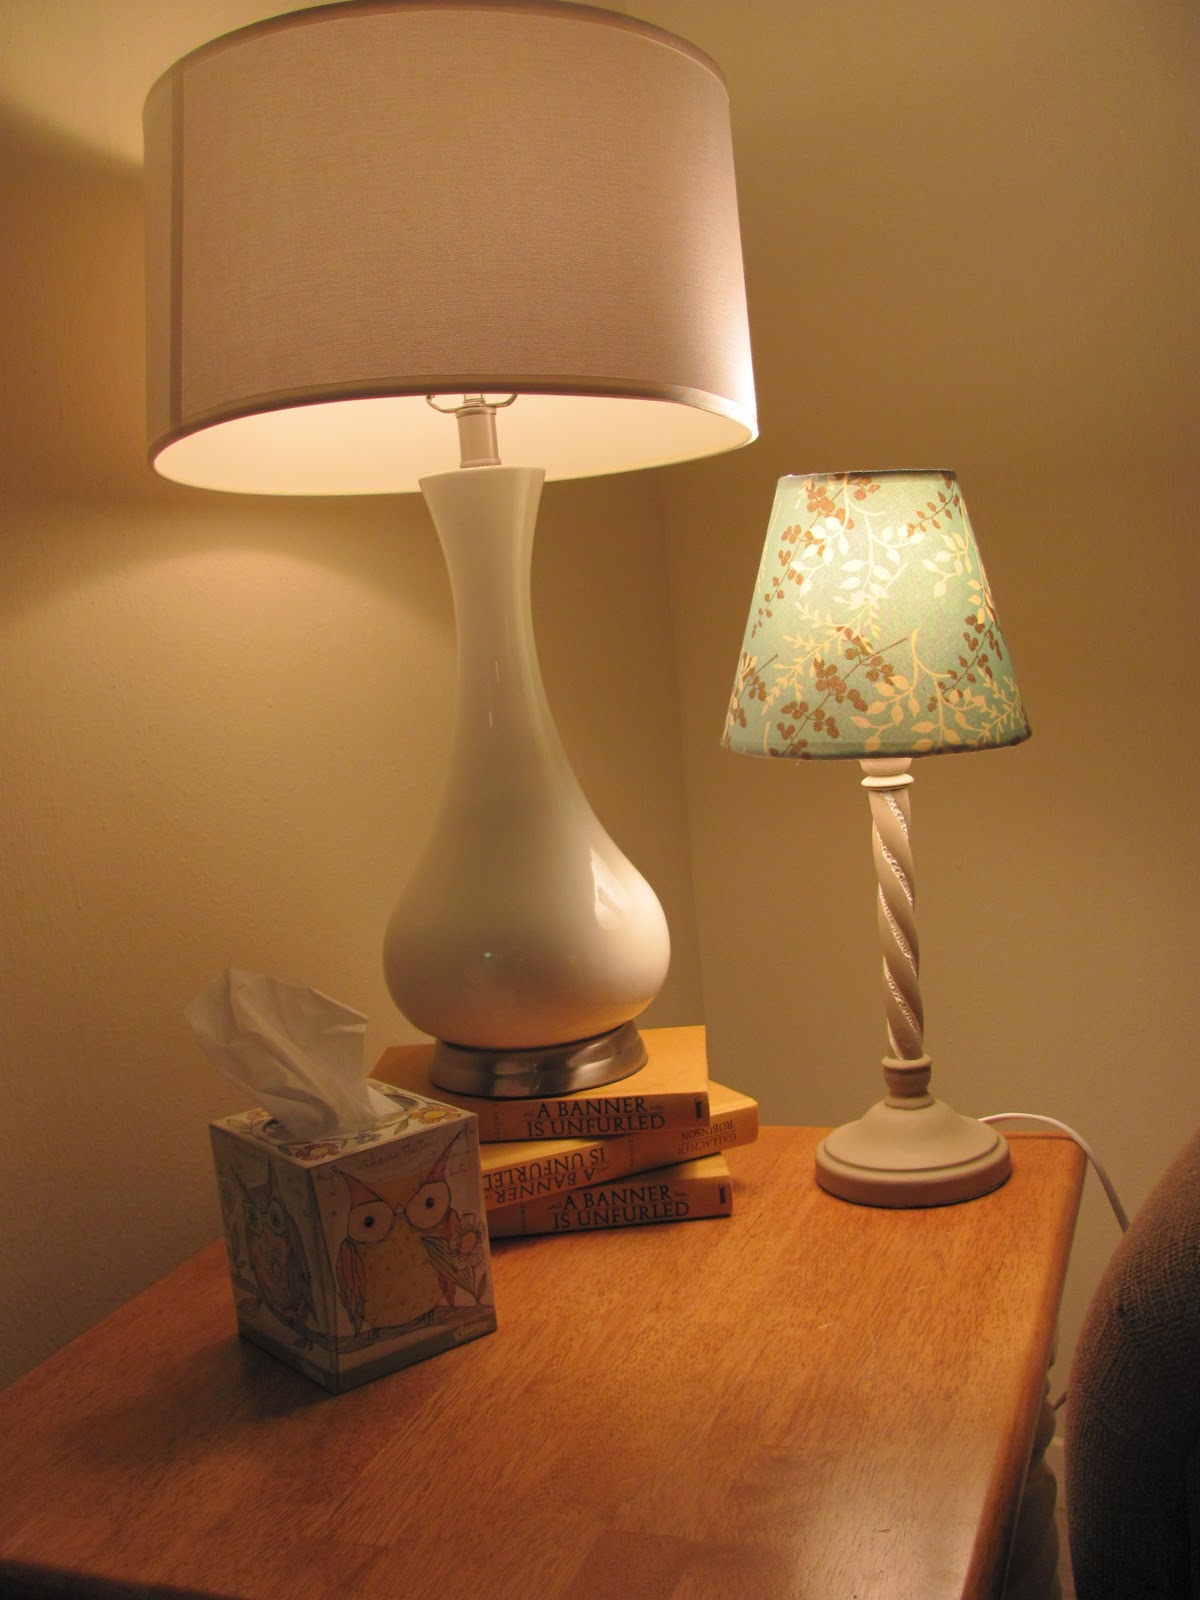
Here is my new lamp! My thanks goes out to Nikki for pointing out this adorable fabric for the lamp shade. I hope this makes your experience easier.


No comments:
Post a Comment